Step 1Started by taking wood scraps and fixing them to a plywood panel that will be the back of the cage (cut to the size of an old cupboard we scavenged from the local dumpster). Added GREAT STUFF insulating foam, which can be carved into natural stone-like ledges once cured. Then it will be painted |  |
Step 2Foam has cured. Mixed play sand into acrylic paint, Grey and I painted the back panel with gradations of green and brown (Grey did most of it - it's his snake after all.) the sand adds a natural texture that makes the cage look a little nicer. | 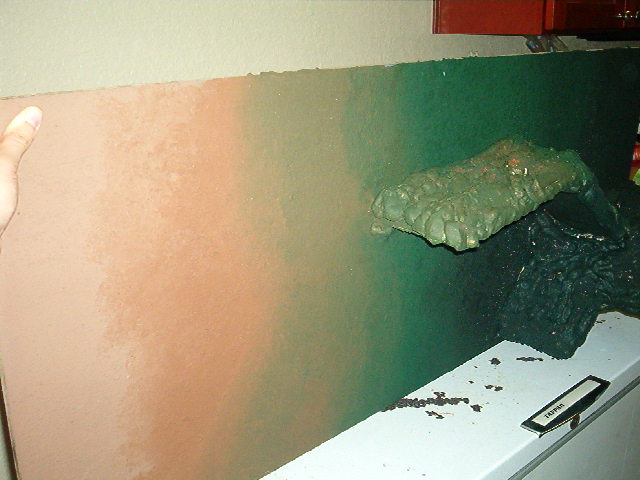 |
Step 3Added craft store plants (Grey picked out the Ivy. I like it.) and stuck them in the foam (removable for cleaning) makes some of the caves darker, and adds more natural scenery to the cage. | 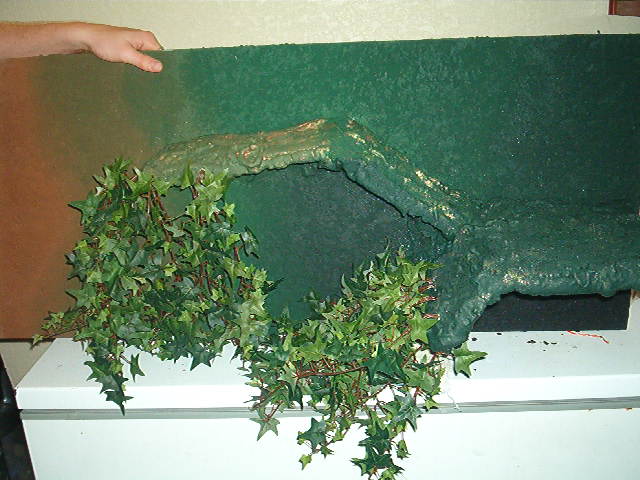 |
Step 4Fixing the back panel to the shelf frame. Drilled holes, and screwed it in place. | 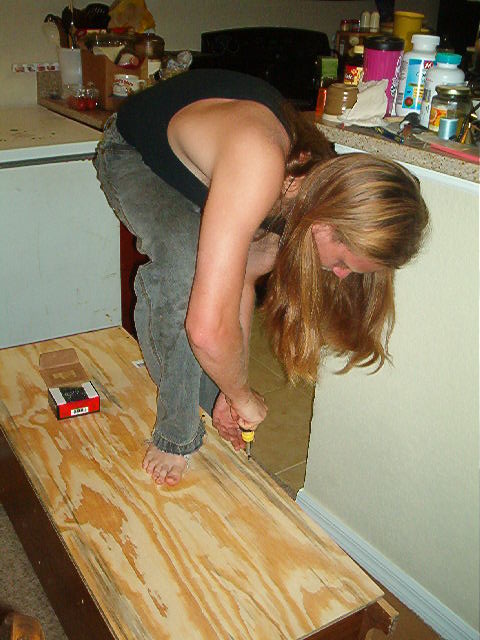 |
Step 5Adding the front door, which came with the shelf/cabinet. had two center panels that were removable, so we switched them out for glass. Hook & Eye locks on the ends of the cage. Pretty much finished. | 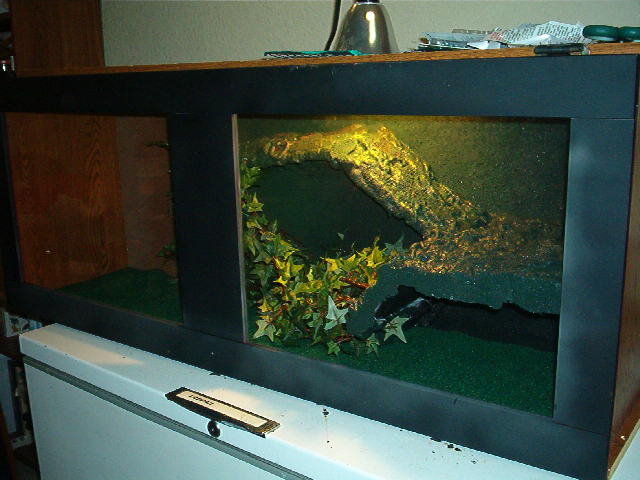 |
All DoneAdded the snake, and his log-cave, and snapped the picture (door is open in this pic) | 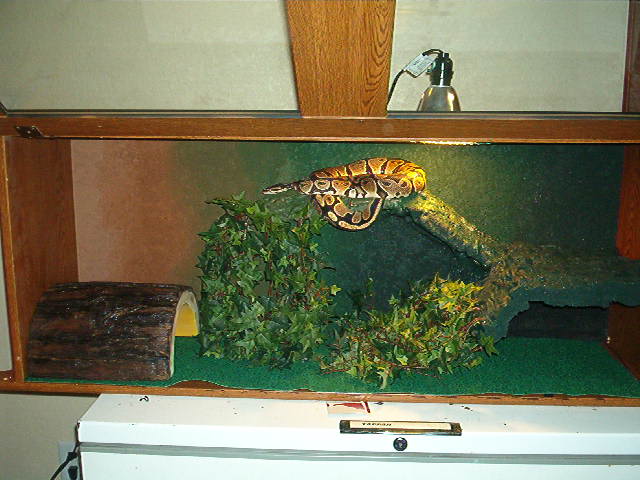 |
Back to Adrian's Snake Page
Back to the Enclosure Design Page