Making of Vladimir's new cage | ||||
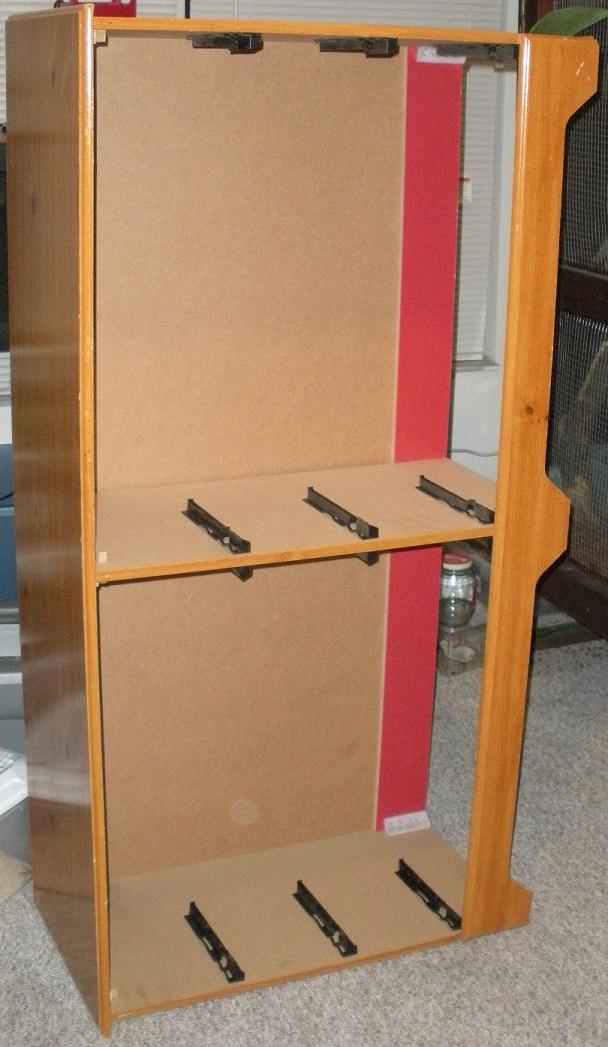 | Started with a dresser scavenged from the local dumpster. Other than missing drawers, it's in fine condition. That's okay, because I do not need the drawers. I started this project to see just how cheap I could construct a good custom cage for a boa. First thing we did is take off the tracks for the drawers, and essentially tear it apart with a screwdriver, as it was held together only with staples to begin with. |
|||
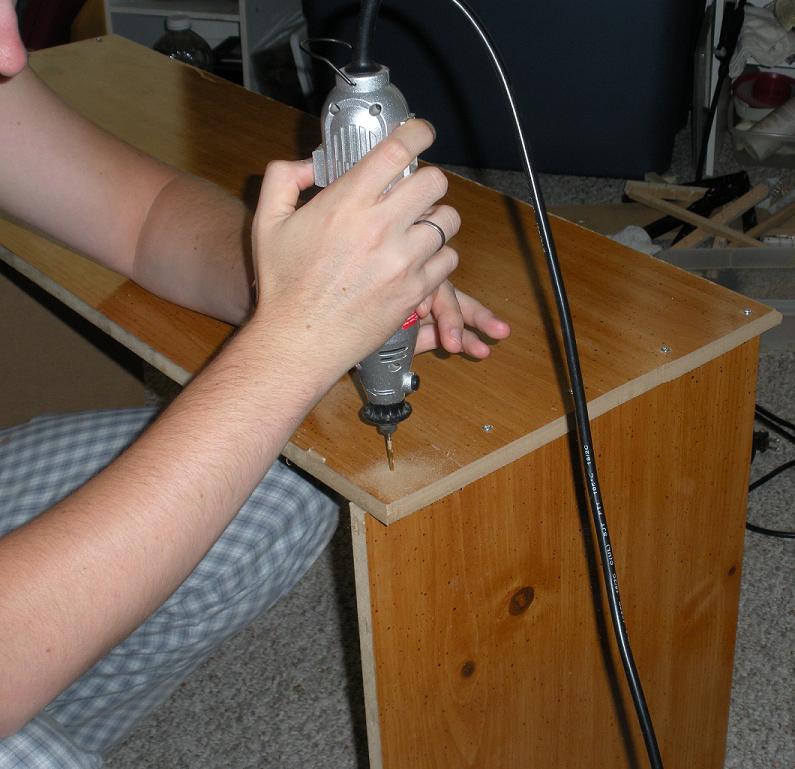 | Purchased plywood and a few other essentials (stick-on tiles, screws, silicone, hardware cloth, molding etc) at Lowes, and cut plywood pieces to size of cage (40x20x15 will be finished dimensions). Lined up pieces, drilled pilot holes, and screwed it all together. |
|||
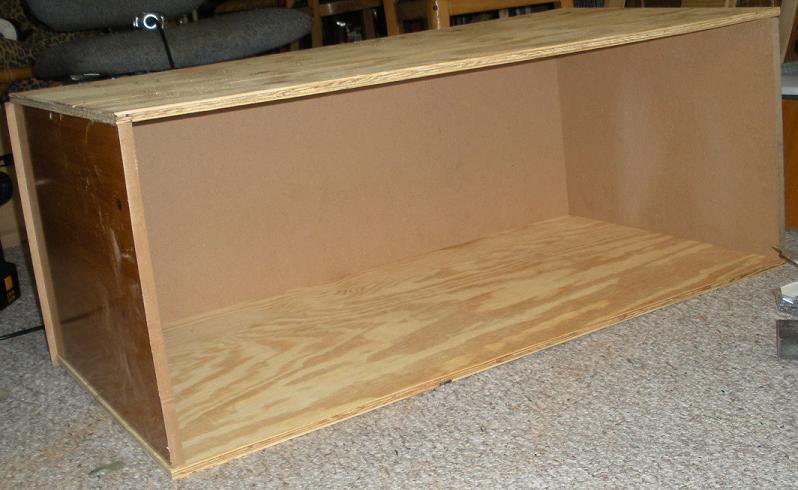 | The bulk of it is assembled - the next tasks will be weatherproofing the inside of the cage, making boa-proof places to mount lights, and the front panel, which comes last, and will be sliding glass doors, complete with ratchet locks. |
|||
 | Peel & Stick Linoleum tiles will line most of the cage. You can score them with an exacto knife, and they will break along the score line quite easily, so they were one of the quicker parts to finish, or so I thought. The ones on the 'walls' did not want to stick, so I used a little bit of "Liquid Nails" Glue to hold them in place. Each side (of the 3 walls that will have tiles) had to be glued, and the glue had to cure for 16 hours with pressure on the tiles being glued. |
|||
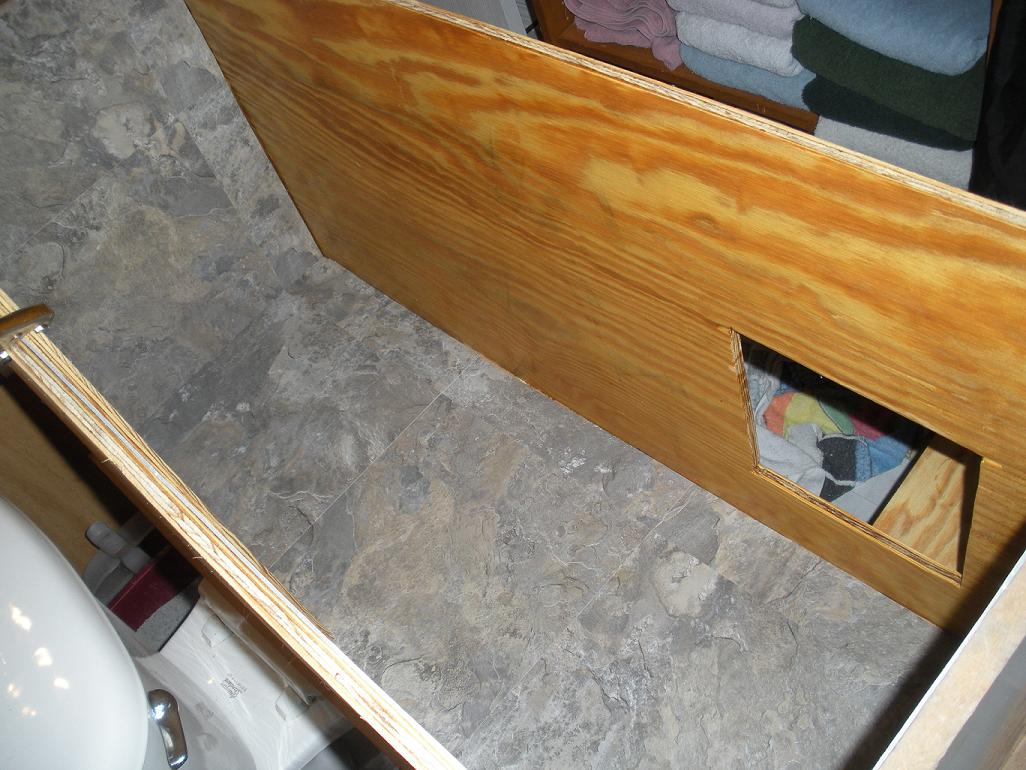 | Cut a hole in the ceiling for the light. Applied 3 coats of polyurethane (3-4 hours dry time between coats) to the exposed wood to seal the inside, as the cage is for a Boa, and they need humidity. I do not want the moisture to ruin the wood. Had to improvise a 'well ventilated area' as I do not have an outdoor workspace such as a yard garage, or even balcony. I put the cage in the bathroom (on the toilet to be exact) and turned on the exhaust fan. It worked, even with the door open, the fumes were minimal. Kept the door closed though to avoid mishaps with cats. |
|||
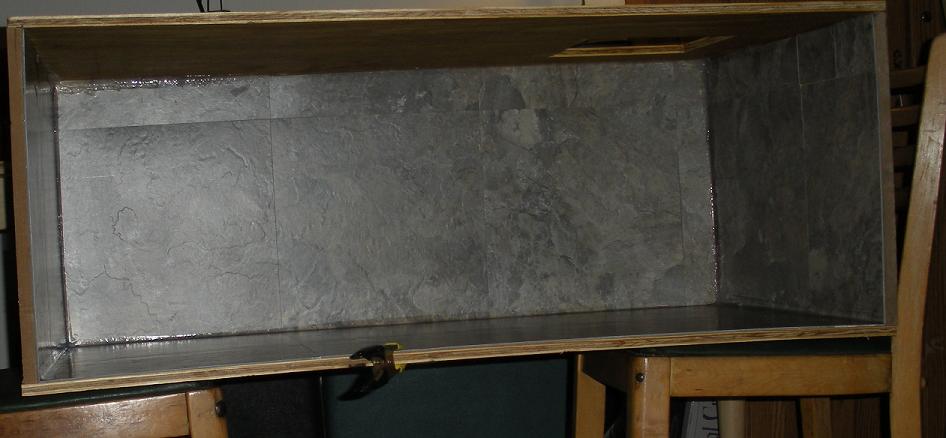 | I applied aquarium silicone to the seams and corners of the cage, to keep moisture (and other messes) from seeping into the wood between the tiles and ruining it. It is important to use aquarium silicone, because kitchen and bath type silicone contains anti-molding agents which can make reptiles and amphibians sick. |
|||
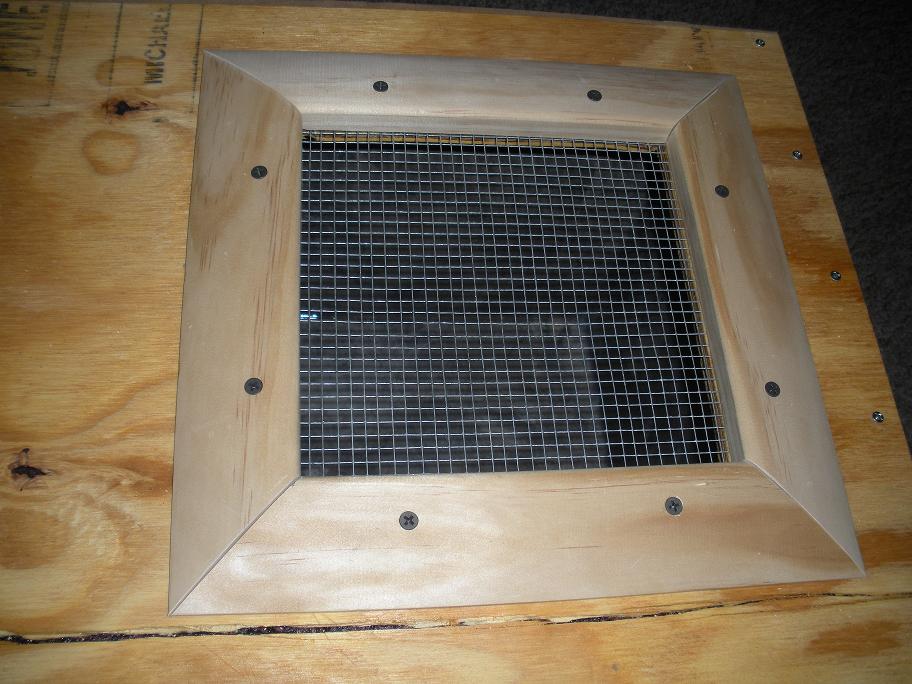 | Used a Mitre Box to cut the molding that will hold the screen in place. The screen area is where the light will be installed. Attached screen and molding to ceiling of cage. The screen I used is 1/4" hardware cloth. I could have used 1/2", as it was half the price, but Vlad is still small enough there is a slight possibility of him squeezing out of a 1/2" hole. For larger (fully grown) individuals, 1/2" is standard. |
|||
 | Glued down the sliding glass door tracks (top and bottom sets) and ordered glass cut to fit. Glass and lock installed, the cage is essentially done. It still needs holes drilled in the side for vents, but that's a work of minutes. All that remains after that is to add the decor, water dish, and snake. I am not sure whether or not I will use a substrate in this cage or not. |
|||
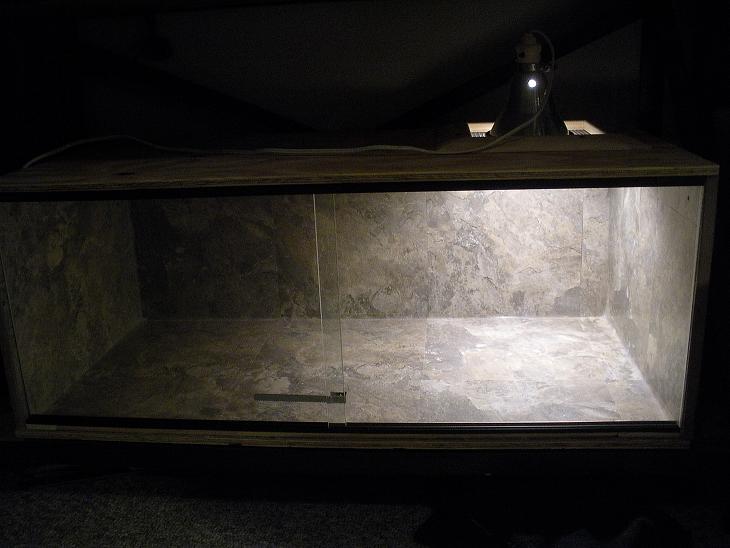 | Moved the cage to the place it will be living, and placed it on top of the heating element (Kane Brand heat mat) and put the light on top so I could see how it looks. I only intend to light half the cage, as the light is for my own benefit more than Vlad's. That way he has a nice dark corner, should he want it. I am letting it air out overnight, so the last glue fumes can dissipate, before putting him and his things in there tomorrow morning. |
|||
Back to Vladimir's Snake Page
Back to the Enclosure Design Page